

Before starting the installation process, gather all the tools and materials you’ll need.
These typically include hardwood flooring, underlayment, a moisture barrier, measuring tape, a miter saw or circular saw, a flooring nailer or stapler, a pry bar, a rubber mallet, a level, and safety equipment such as gloves and safety glasses.
Ensure you have all the supplies ready before you begin to streamline the process.
Preparing the subfloor is crucial for a successful hardwood floor installation.
Start by removing any existing flooring, baseboards, and trim. Ensure the subfloor is clean, level, and dry. Repair any damaged areas and remove protruding nails or screws.
Lay down the underlayment and moisture barrier to protect the hardwood from moisture-related issues.
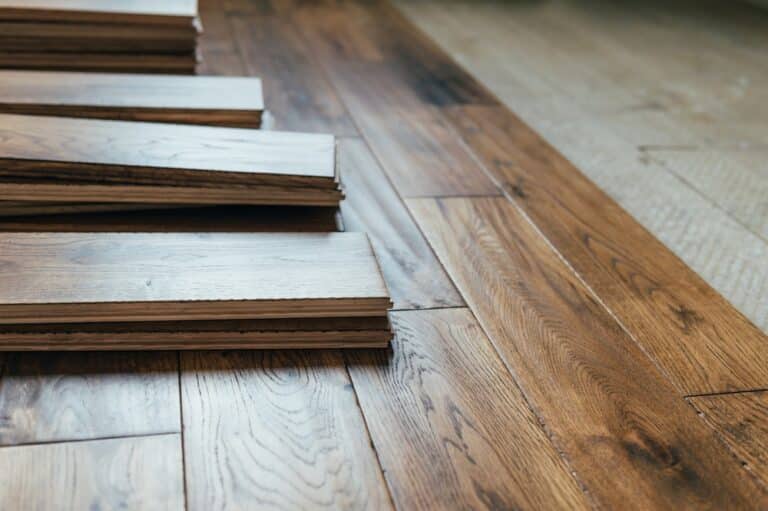
To prevent warping or shrinking of the hardwood after installation, allow it to acclimate to the room’s environment.
Stack the flooring in the room where it will be installed for at least 72 hours.
This allows the wood to adjust to the temperature and humidity conditions, ensuring a more stable installation.

Plan the layout of your wooden flooring before making any cuts or nailing it down. Consider the direction of the floorboards in relation to the room’s main light source and traffic flow.
Start from a straight wall and lay the flooring perpendicular to the floor joists. Use a chalk line to mark reference lines and ensure your installation is straight and visually appealing.
Begin the installation by laying the first row of hardwood, leaving a 1/2-inch expansion gap from the wall. Use the flooring nailer or stapler to secure the boards to the subfloor, placing nails or staples at regular intervals.
Use the rubber mallet to ensure the boards are snugly fitted together. Continue laying subsequent rows, interlocking the boards and staggering the seams. Trim the last row as needed to fit against the wall.
Once the hardwood is installed, reinstall baseboards and trim to complete the look.
Fill any nail holes with wood putty that matches the floor color. If desired, apply a protective finish to enhance the durability and appearance of the hardwood.
Allow the finish to dry thoroughly before walking on the floor or moving furniture back into the room.
Installing hardwood floors yourself is an achievable and rewarding project that can elevate the beauty and value of your home.
By following these steps and taking your time, you’ll be able to enjoy the satisfaction of a job well done as you walk across the stunning expanse of your newly installed hardwood floors. Rely on our experience manufacturing and installing hardwood floors.
